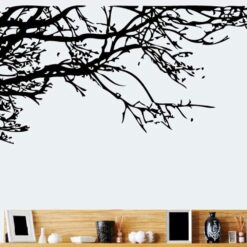
The stickers are easy to assemble like a puzzle, and each of the pre-cut elements can be moved at any time without damage. They never leave a sticky residue. These wall stickers can be easily repositioned and as often as you like without damaging your walls.
Steps:
1. Open the wall sticker and smooth it. Cut the wall sticker into small pieces after pressing it for more than 24 hours.
2. Choose the place where you want to attach it. Then clean the surface of the wall.
The sample pictures are for reference only (you can also assemble them by yourself). Peel off the stickers along the cutting line. Then you can attach it to the desired place.
4. Tips and steps for installing the larger wall sticker. First carefully peel off the wall sticker and fold the backing paper into two. The next step is to stick the peeled part of the wall sticker in the desired place. The last step is to smooth the wall sticker with one hand, at the same time peel off the backing paper of the wall sticker with the other hand.
5. Bring your creativity into play as you put them together. Different stickers can be combined with each other.
6. About four weeks after installation, you should press the wall sticker again.
Note:
1. Do not stick to the wall that has flaking or falling ashes.
2. Will not stick to any surface of potholes.
3. Does not stick to uneven wallpaper.


Reviews
There are no reviews yet.